In the modern digital learning environment, saving online content for offline access, research, or documentation is crucial for both students and educators. The most effective way to preserve an article, a research paper, or any online resource is by converting it to a PDF. This guide will provide a detailed, step-by-step walkthrough on how to turn a webpage into a PDF using the best online tool for the job: Webs2PDF.
Why Use Webs2PDF to Convert a Webpage to PDF?
Webs2PDF is designed to be the most reliable and user-friendly solution for educators and learners. It offers a clean, professional, and customizable output that is perfect for academic use.
Offline Accessibility: Students can download a webpage as a PDF to access critical class material without an internet connection.
Easy Archiving: Educators can save webpage as PDF to create a permanent archive of online resources, ensuring content is always available.
Organized Research: You can create a PDF from a webpage to organize research articles and sources for projects in a single, shareable format.
Professional Output: The PDFs generated are free of ads and clutter, making them perfect for reading and annotation.
A Step-by-Step Guide to Converting a Webpage with Webs2PDF
Using Webs2PDF is straightforward and requires no technical expertise. Simply follow these steps to export a webpage to a PDF with ease.
Step 1: Go to Webs2PDF
Open your browser and navigate to the Webs2PDF website. You’ll immediately see a clean interface where you can begin your conversion without any signup or installation.
Step 2: Paste the Webpage URL
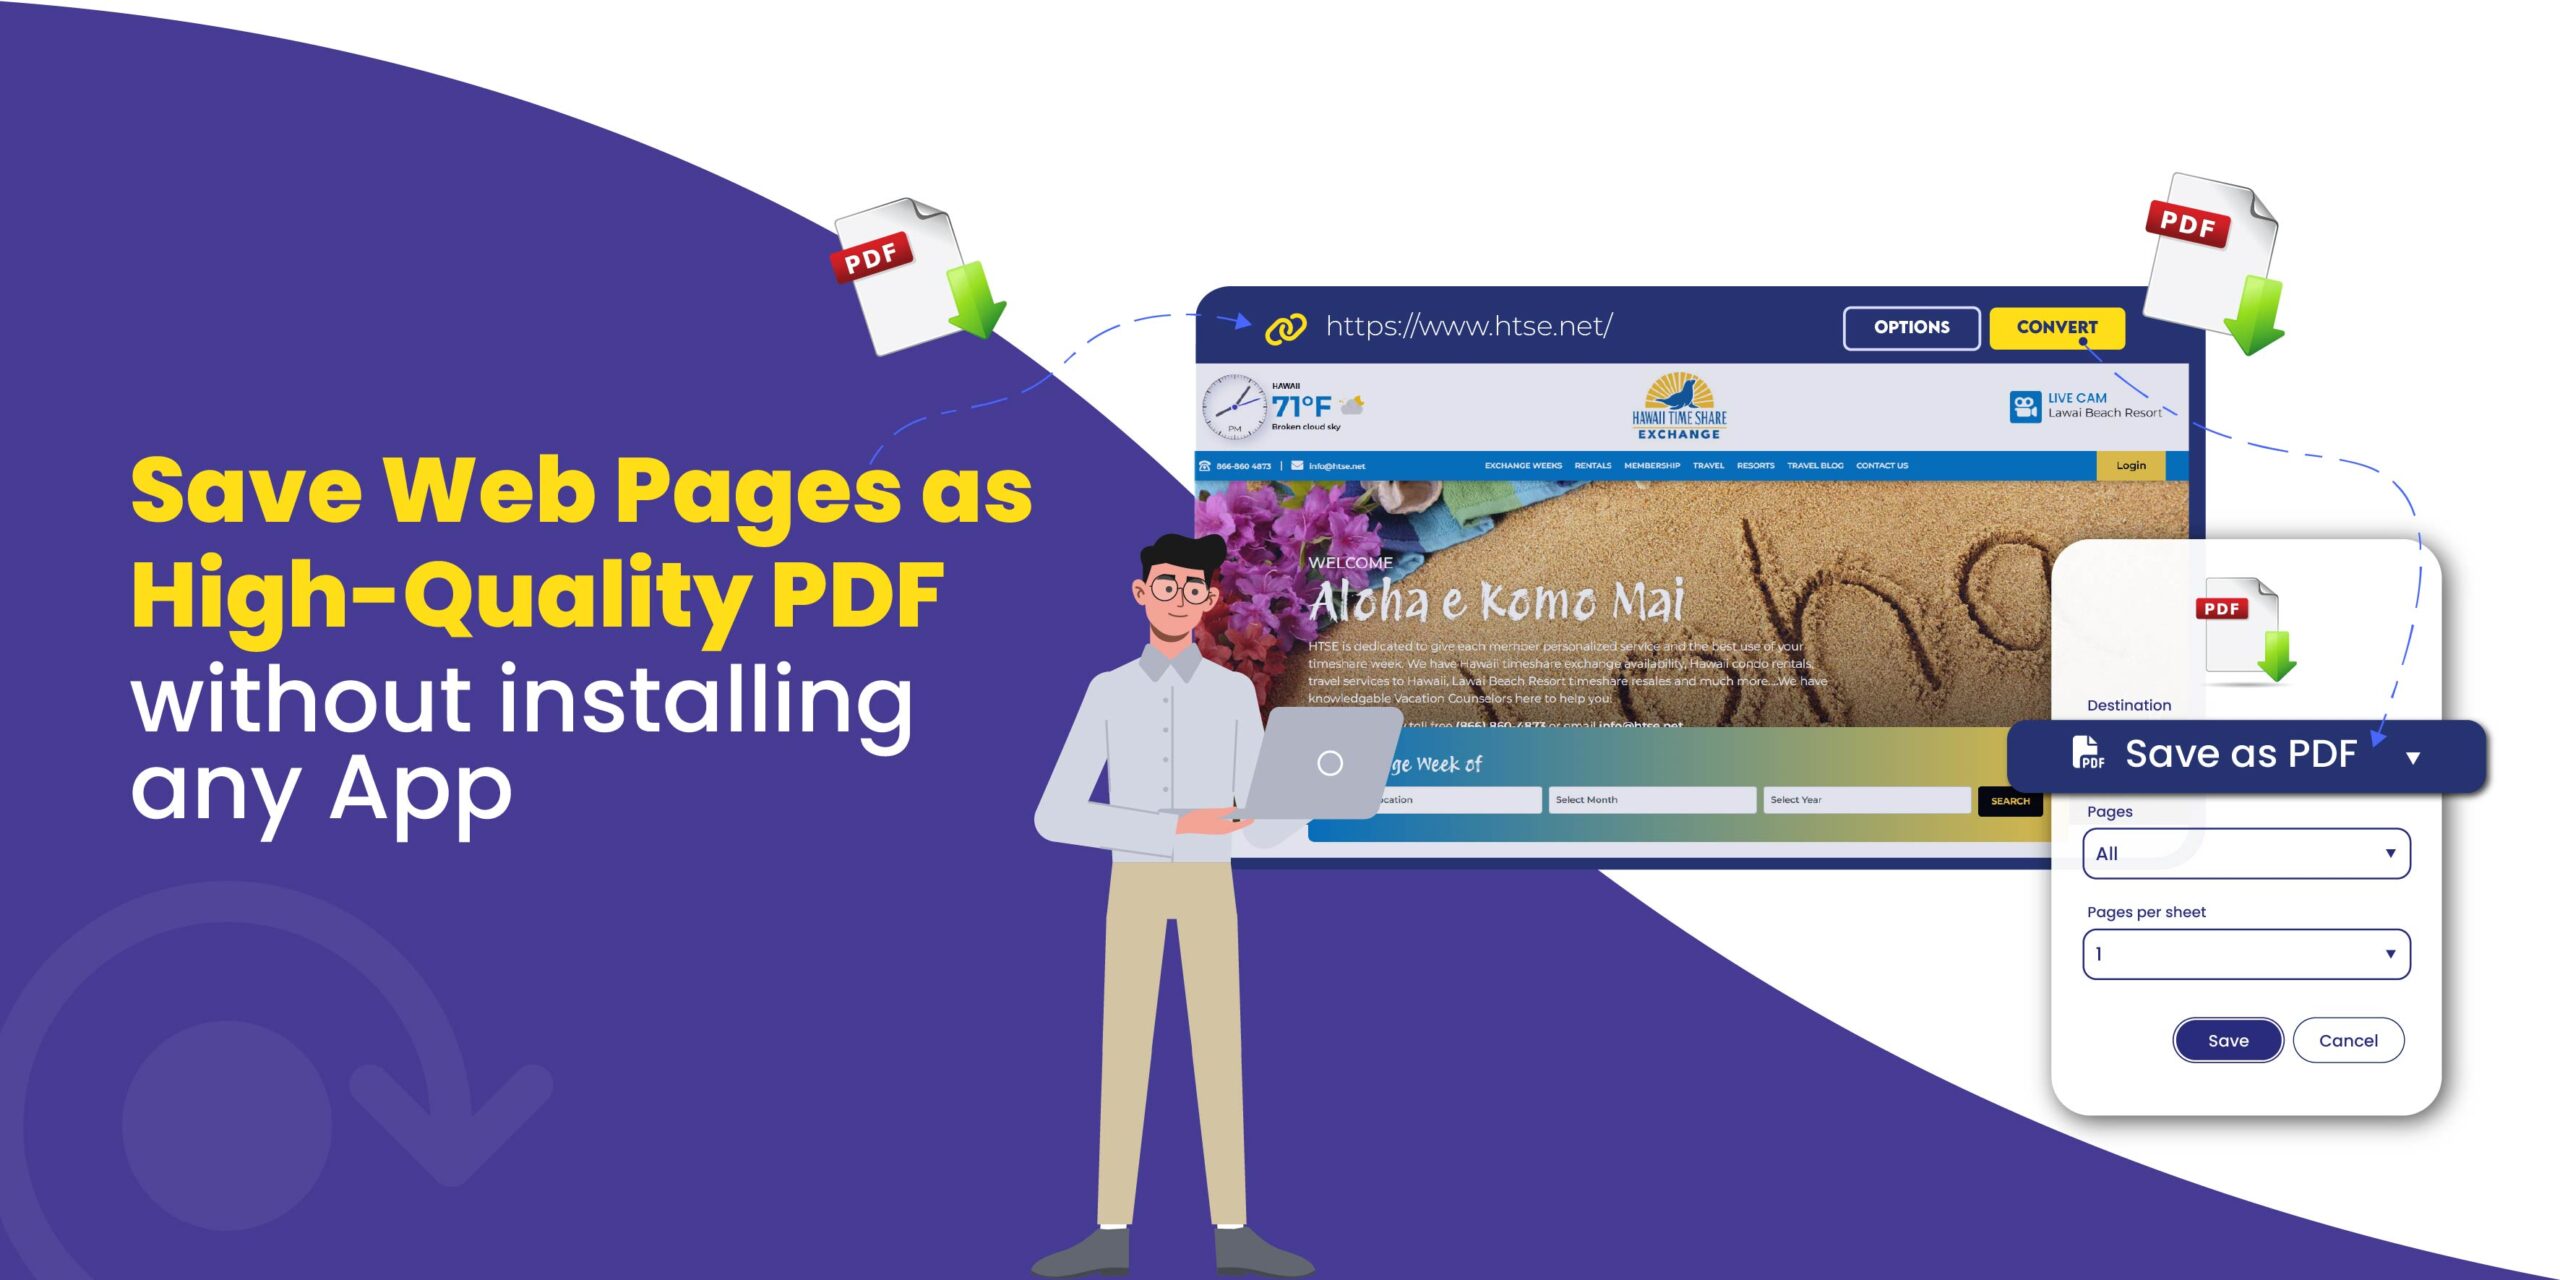
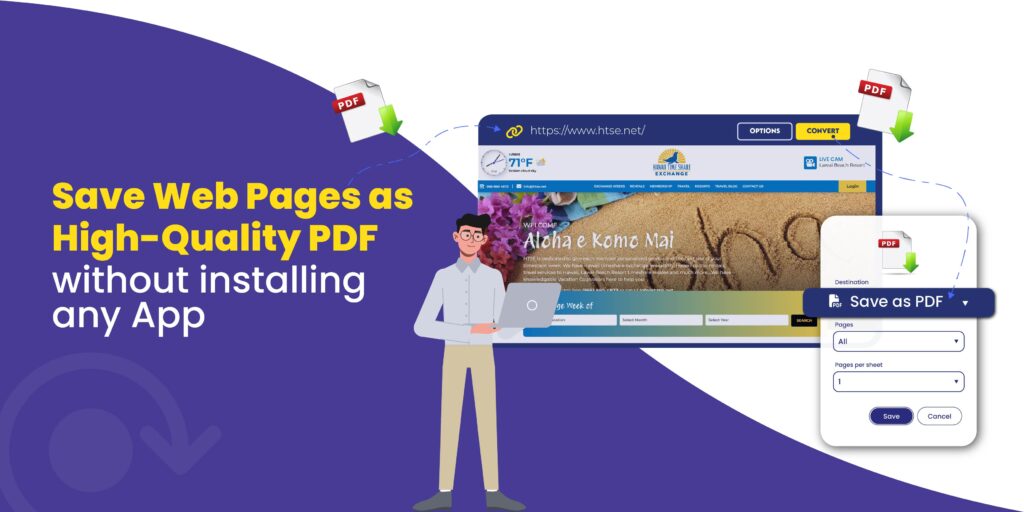
Copy the URL of the article or web page you want to convert. Paste this link into the designated input field on the Webs2PDF homepage. This is the first step to turn a webpage into a PDF.
Step 3: Customize Your Conversion Settings
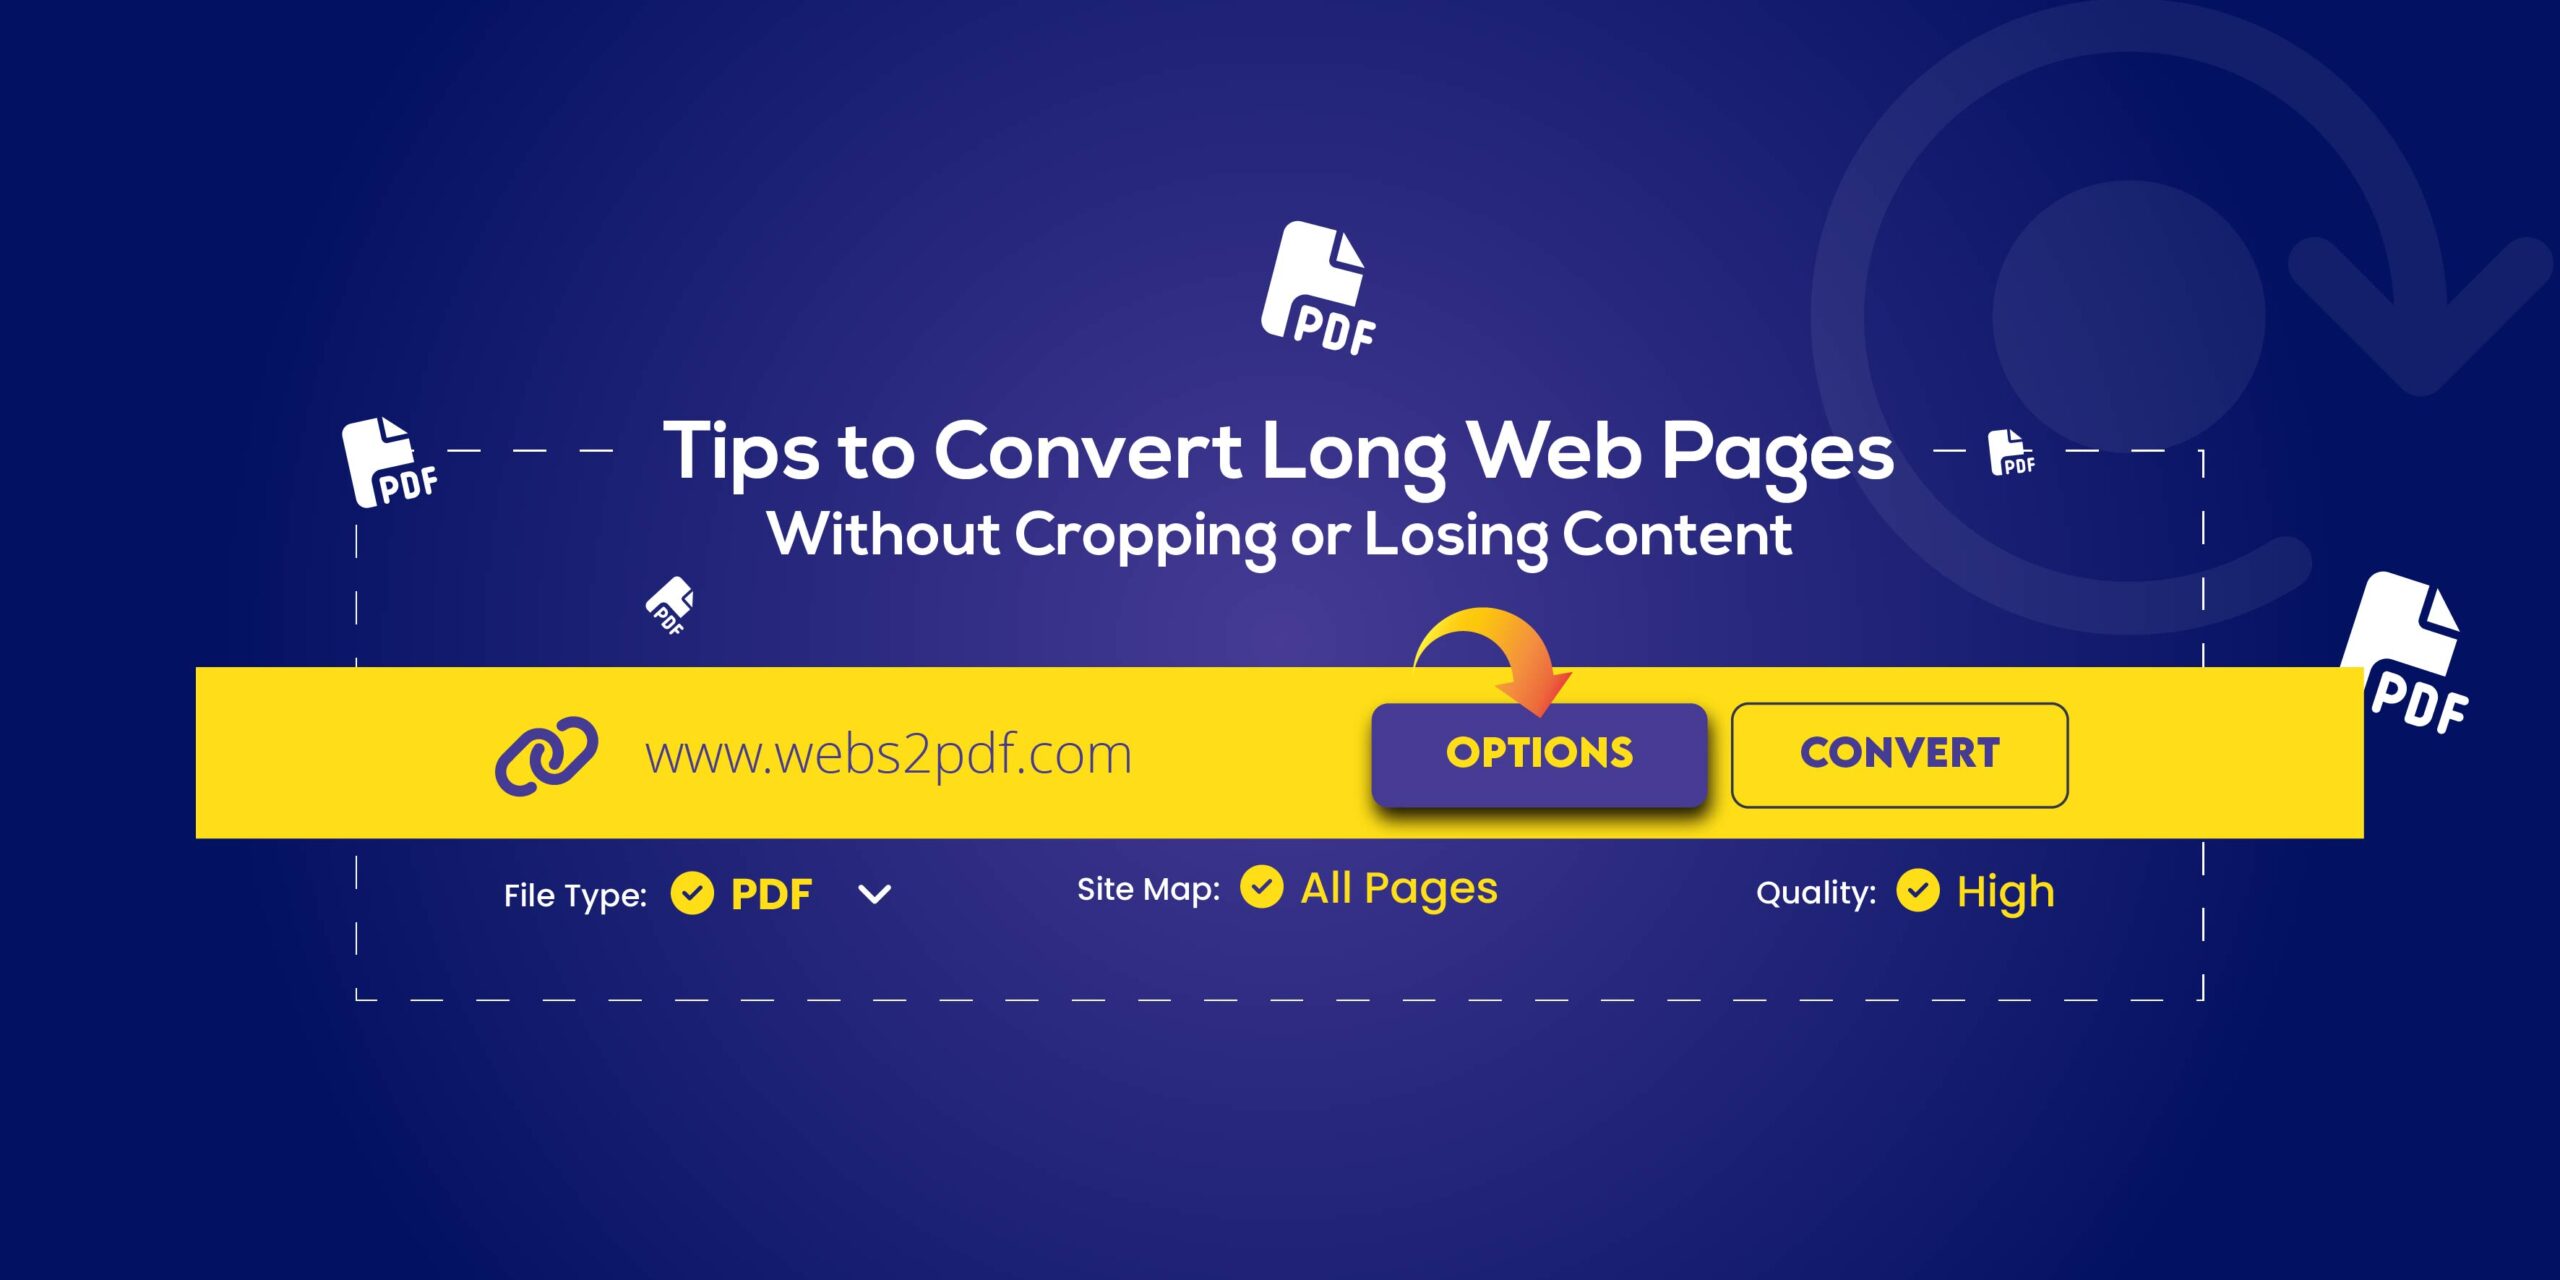
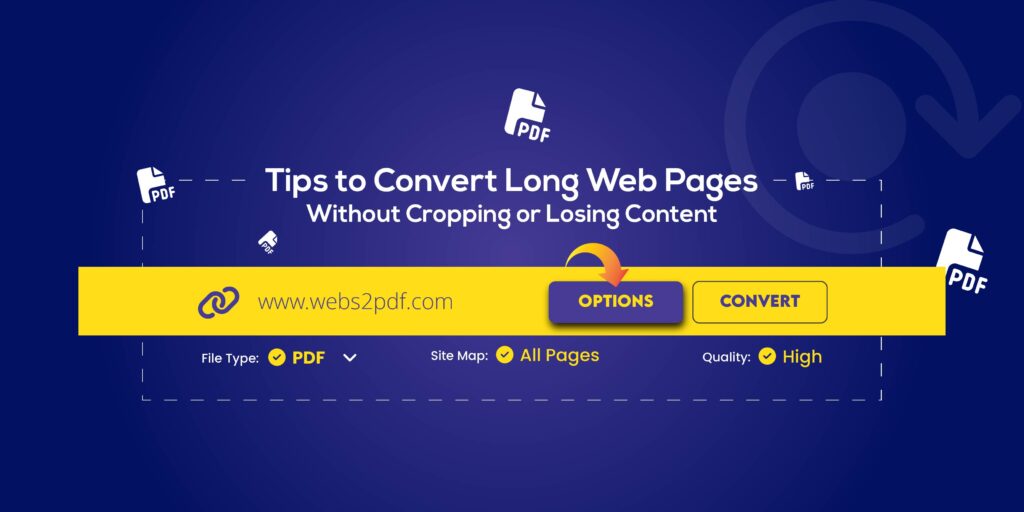
Click on the “Options” button to tailor the PDF to your exact needs. This is where Webs2PDF provides superior control over the output. You can:
Adjust Page Size: Select from various pre-defined sizes like `Desktop and Laptop` or `iPad Portrait` to ensure the PDF is optimized for your device. This is especially useful for students who save a webpage as a PDF on iPad or other tablets.
Set Site Map: If you are a teacher creating a resource, you can choose to convert just the `Current page only` or all related pages.
Choose Quality: Select `Medium` or `High` quality to ensure images and charts are clear and sharp.
Define Margins: Set custom margins in pixels to ensure the content is perfectly spaced and nothing is cut off.
Add Custom Features (Paid Plans): For professional documentation, you can add a `Custom Watermark` or display `Header & Footer` information.
Step 4: Convert and Download Your PDF
Once your settings are configured, click the “Convert” button. Webs2PDF will quickly process the webpage and generate a high-quality PDF file. After the conversion is complete, click the “Download” button to save the webpage as a PDF directly to your computer or mobile device.
The Webs2PDF Advantage: Why It’s the Best Choice for Students & Educators
When you convert a webpage to a PDF, the final result matters. Unlike other methods that can produce messy, ad-filled PDFs, Webs2PDF delivers a clean, professional, and well-formatted document every time. Its user-friendly interface makes it the go-to tool for anyone who needs to turn a website into a PDF without any hassle.
Whether you’re trying to download an article as a PDF for a school project or an educator creating resources, Webs2PDF is the fastest, easiest, and most reliable way to make a webpage into a PDF.
