Converting web pages to PDF has become an essential task for many. Whether you’re a student saving research articles, a professional creating documentation, or a business owner archiving invoices, the PDF format is the best choice. In this guide, we’ll give you a step-by-step walkthrough of how to convert any web page into a professional PDF. We’ll be using the easiest and most effective online tool, Webs2PDF.
Why Convert a Web Page to PDF?
There are several key benefits to converting web pages to PDF:
- Offline Access: The PDF format allows you to view content anytime, anywhere, without an internet connection.
- Easy Sharing: PDFs have a fixed layout, so you can easily share them across any device without losing formatting.
- Archiving & Documentation: It’s the best way to save important web content for future reference and record-keeping.
- Print-Ready: Converted PDFs are perfect for professional printing, preserving the design and layout perfectly.
Method 1: Using an Online Converter (Webs2PDF)
Online converters like Webs2PDF are the easiest and fastest way to convert web pages to PDF. You don’t need to download or install any software.
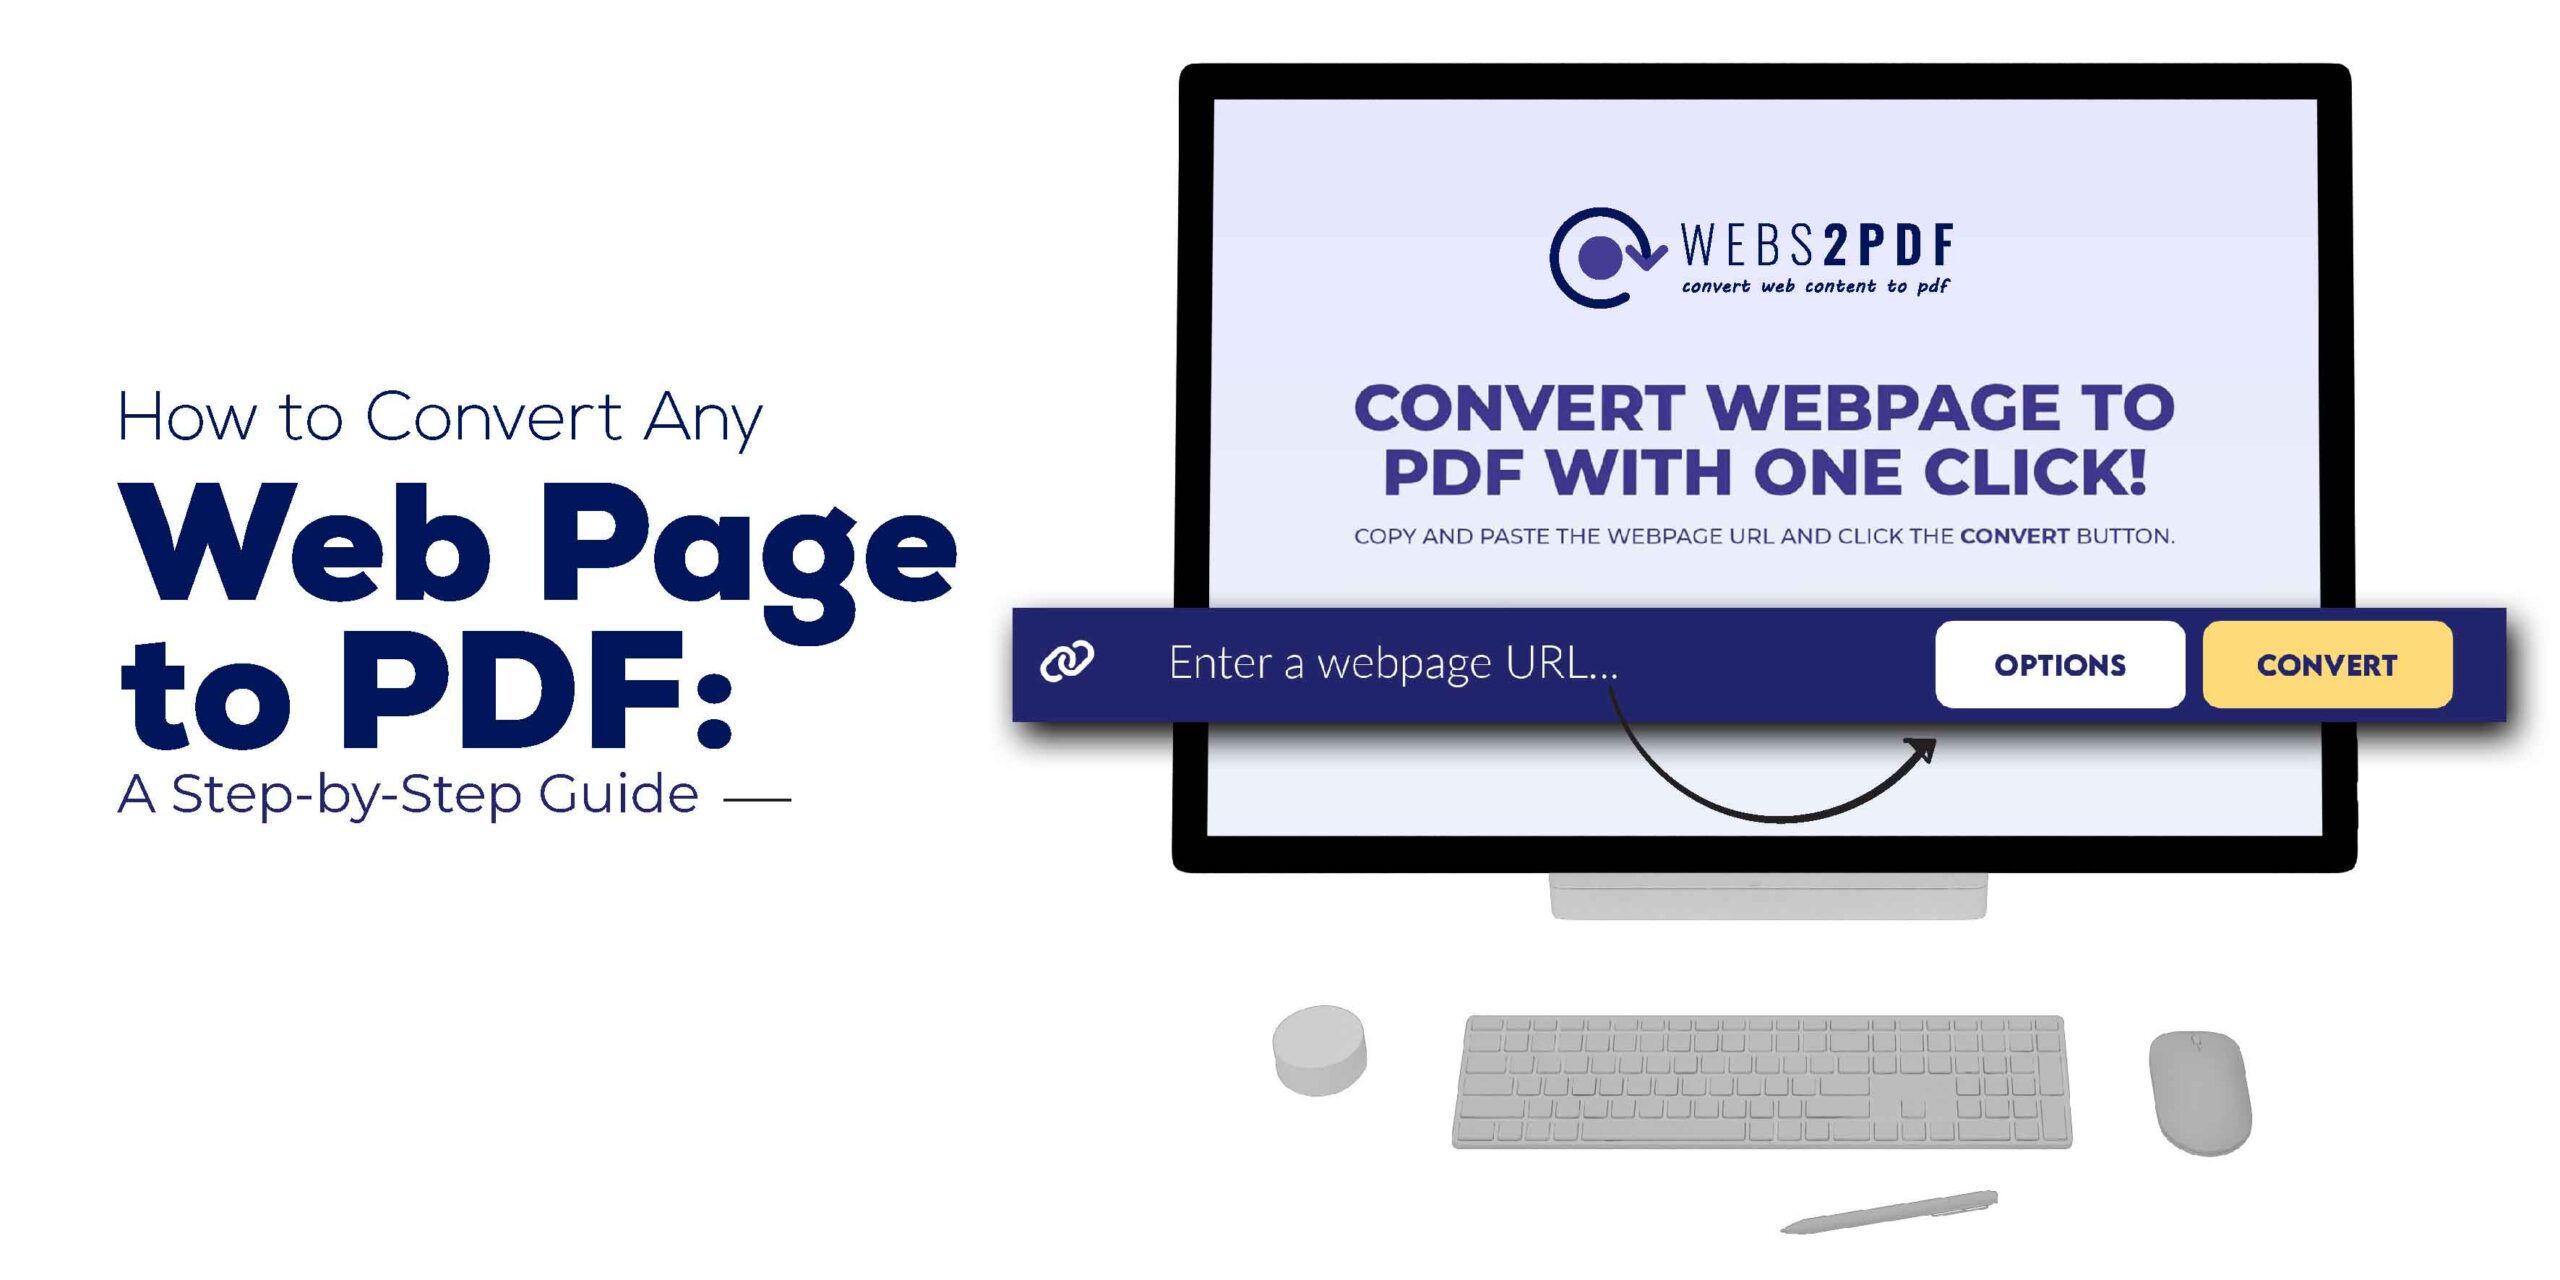
Step 1: Open Webs2PDF
First, open the Webs2PDF website in your browser. You will find a clean, user-friendly interface with an input box for the URL.
Step 2: Enter the Web Page URL
Copy the URL (link) of the web page you want to convert and paste it into the input box on the Webs2PDF homepage.
- Example: https://www.examplewebsite.com/your-article
Step 3: Customize Your Conversion Settings
After entering the URL, click the “Options” button to customize your settings based on your needs. According to your image, here are the options available:
- Page Size: You can select a predefined size like Desktop and Laptop, iPad Portrait, or enter a Custom size.
- Site Map: Choose whether you want to convert the Current page only, All Pages, or do a Bulk conversion (for multiple pages).
- Quality: Select from Low, Medium, or High quality. This is useful if you need high-resolution images in your PDF.
- Margins: You can set the margins in pixels for all four sides of the PDF, just like the 5 pixels set in your image.
- File Type: Choose between PDF, PNG, or JPEG file types (available in paid plans).
- Customization Options: In paid plans, you can add a Custom Watermark, Display Header & Footer, and receive an email notification when your PDF is ready.
Step 4: Convert and Download
Once you’ve selected your settings, click the “Convert” button. Webs2PDF will process your web page and generate a PDF file in just a few seconds. After the process is complete, a “Download PDF” button will appear. Click it to download your file.
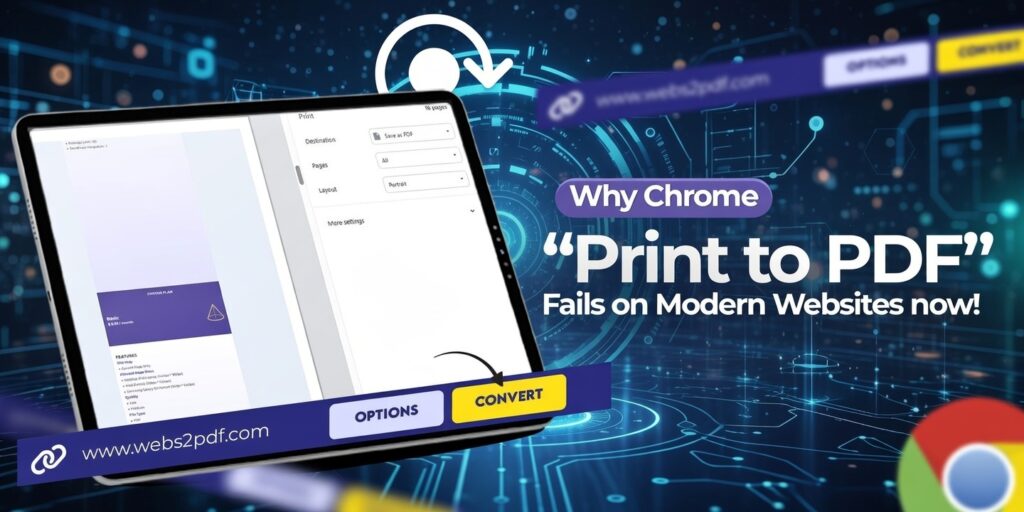
Method 2: Using Your Browser’s Built-in Function
If you just need a simple, quick PDF and don’t need any customization, you can use your browser’s built-in “Print to PDF” option.
Step 1: Open the Web Page
First, open the web page you want to convert to PDF.
Step 2: Open the Print Dialog Box
- Windows / Linux: Press Ctrl + P.
- Mac: Press Cmd + P.
Step 3: Save as PDF
- In the “Destination” or “Printer” drop-down menu, select the “Save as PDF” option.
- Click the “Save” button.
Note: This method is simple, but it will often include ads, pop-ups, and other unnecessary elements from the web page. Additionally, it doesn’t give you advanced customization options like those offered by Webs2PDF. For professional and clean results, a dedicated tool is far better.
Why Webs2PDF is the Best Choice
While your browser is fine for basic conversions, a dedicated online tool like Webs2PDF provides a superior experience. It not only gives you a clean, professional PDF with one click but also offers far more control over the final output. For fast, easy, and high-quality conversions, Webs2PDF is the best option available.